Friday, May 14, 2010

Sewing Club and Friends

Here's how sewing club starts. We all greet each other and see who was able to make it, then we unload our finds and possessions on the table for sharing. To some, it looks like fiber mayhem, but to others it's fiber bliss!


...antique buttons from Kara...
and the sewing stash...

...burp cloth making by Stephanie...

...hairbows by little Lily

(thanks for the help Kara)...

...and button bobbypins from Jessica. We love getting together and sharing with each other. Yes, there is a little bit of familial venting while sewing, but I think it's very healthy. Didn't grandma say "love in every stitch?" I think some of that love was coping!

Thursday, May 13, 2010

Heather Bailey Tomato

I made this tomato pin cushion this weekend and I love it! I bought a pattern from www.heatherbailey.com and it was very easy to follow. I used Heather Bailey fabric, felt, and ric rac. She has amazing collections and, I promise, you will fall in love!
This is the extra-long needle I used to tuft the tomato. There is a button on the top and the bottom which is great because it hides the mess of bunching the fabric together.

Tomato display....


Wednesday, May 12, 2010

Peonies

Beautiful Peonies. I wish you could smell them through the computer screen! They are absolutely Heavenly!!! They only bloom once a year (like tulips and lillies) so when they are out, you have to, you must, stop and smell the peonies.
I picked these a couple of days ago and used a recycled drink jar for my vase. I don't think it does the peonies unjustness, but rather brings a spin of old world charm. I had to bring them to my office so I could enjoy them all week long.

Tuesday, May 11, 2010

Antique Porch Glider - Part II

Recap from Part I ....the zipper getting pinned to the gusset.


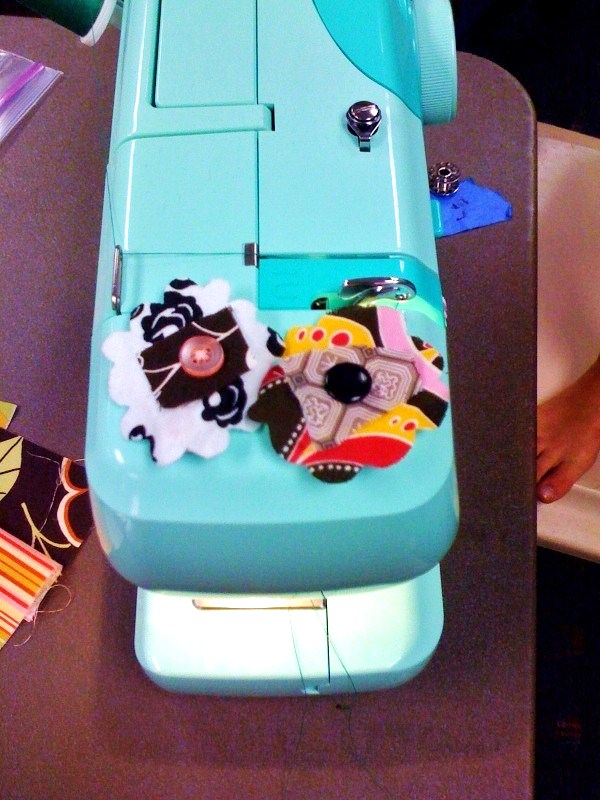
I know this looks like a repair job with the tape on my sewing machine but I actually put the tape down so my daughter could use it as a guide for her quilt. There are measurements on the machine right by the presser foot but I was trying to teach her how to line up the fabric at the very front of the machine and guide the fabric all the way through. It's an easy technique if you're not sure about your placement.

This is an encounter that happens when you don't have a pattern and think you can just "wing it." I was a little short on the length of this piece so I added about and 1 1/2 to the end....which you can clearly see because it's a striped pattern. Oh well, we'll put that in the back!


Now, on to the pillows.
I wanted to recycle some old pillows because I liked the firmness (and I found them in the closet). So I measured each piece and laid them on the fabric as if I was going to wrap it like a present. I also wanted to be sure I had enough fabric and best placement for 3 pillows.


These strips are for the trim on one pillow. I'm going to make them all coordinate but want them to be just a little different.


I'm pinning the strips to one piece and then I'll put the other on top
to sandwich the strip inside with rights sides facing each other (the bright, pretty side). Don't forget to leave an opening so you can turn the pillow to the pretty side out.


And here we go! Turn the pretty side out and push the corners to that crisp, sharp corner with a dull pencil. Insert your pillow form or stuff to desired firmness.


And the final product................. TAAAADAAAAA!


Monday, May 10, 2010

Antique Porch Glider - Part I

Gliders are actually a thing of the past and have come back around in recent years. The family bought this antique glider for mom (a couple of years ago) and it's gotten a lot of attention. From picking it up, sand blasting, storing, painting, picking out fabric, making cushions and pillows, and finally pictures! Word of the day? DEADLINE...Mother's Day!


Wow....here's the visual story of the cushions...


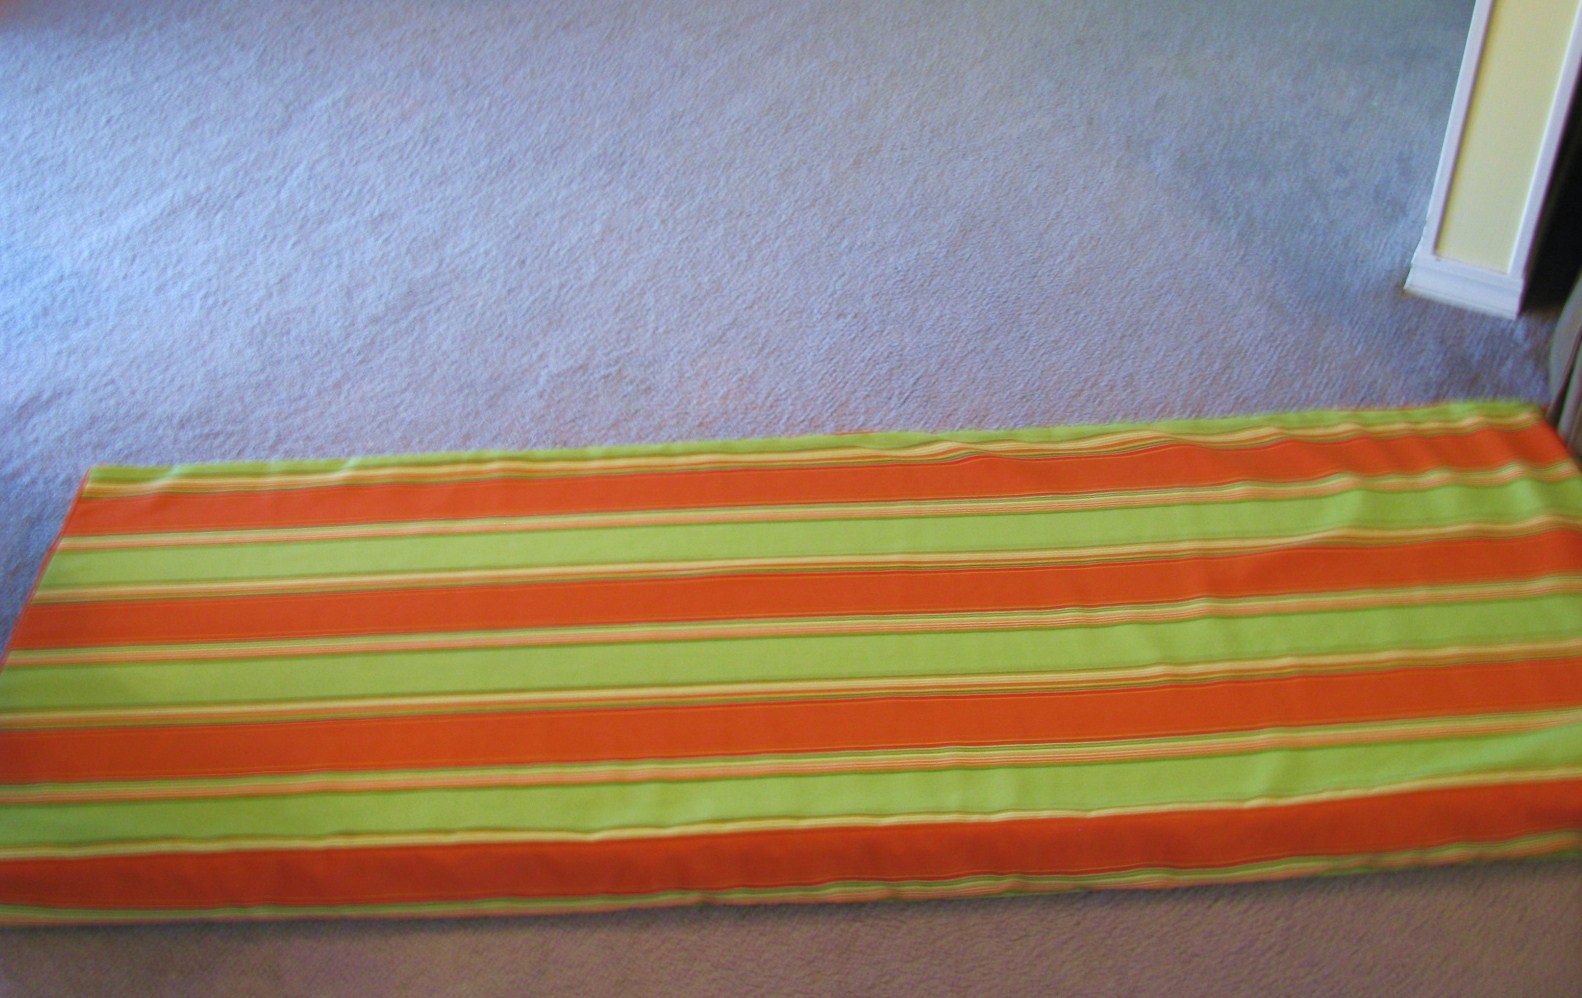
Here's the layout on the floor. I know it's not very glamorous, but when there's big cushions, this is the only space I have.


Measure, measure, measure. I layout the pieces to be sure the stripes go in the right direction.


After I cut out the pieces, I cut the last piece so I could insert a zipper. Who knows when this might get washed and I need to leave the option open. Zippers are wonderful things and are nothing to be afraid of. I treated it like one more strip of fabric and put a gusset on each side so I could sew the whole line up the entire length of the cushion. What is a gusset? It's a strip I sewed on each end of the zipper, exactly the same width as the zipper.


Then I stuffed the huge cushion inside the tiny 22 inch hole while my husband watched me from a distance wrestling the fabric.

And whaaalaaaa. Stuffed and zipped!

Friday, May 7, 2010

Oranges and Berries

Beautiful, round, plump oranges that just say...."eat me!!!"
How could a kitchen be more inviting then to set out a bowl of wonderful fruit? I can't think of a way except to add berries to it.


Perfect, big, strawberries! Love summer, love it!!! These strawberries are just as delicious as they look and the blackberries are soft and tart. I'm going to try the blackberry cupcake recipe that I snapped a picture of from the Martha Stewart Cupcake book in one of my recent posts. I'll give reviews but somehow I think that ripe, tart berries are the perfect thing for breakfast!


Monday, May 3, 2010

Playing School


Ah, the joys of playing school. Do you remember acting like your teacher? ...using a pointer to touch the chalkboard? My daughter and I played school last night and she was very good. When she left the room, she made me class monitor (for no one else but me) and I loved it. We did phonics and math and a little bit of manners, including proper tea setting. It must have been a finishing school.
The math was quite difficult.
We didn't start with plus and minus just moved straight to mulitplication. She's working on 0-6 so that was the topic of class.
Little Miss Teacher...