Showing posts with label antique. Show all posts

Monday, April 25, 2011

Retro Highchair

This adorable highchair was found at the local antique shop. We have some amazing ones around here and this was a real steal! It needed a little work but I was up for the challenge. Actually, let me back up...my sister-in-law (sweet and over-ambitious Katy) spotted this bute, bought it, took it home, had to explain to hubby why she bought a rusty highchair for the baby, then put it in the storage shed. I arrived and asked about the chair in which she directed me to the backyard. Ugh, I couldn't stand the idea of it not being used because it was adorable! So, I brought it back to Oklahoma, did a little magic and took it back to Albuquerque. yweh!


Ok, metal 101, this highchair had rust. I took a wad of aluminum foil (yes, from the kitchen) and used it like a sponge and scrubbed over the metal legs and arms. It took a little elbow grease but the results were immediate, hence, I kept working. You would not believe how shiny metal can really be!


There's the wad on the floor.

There's the yucky rust.


And now, shiny and new. I painted the tray again to seal it up and make it look nice. I do have to remind you that the "baby" is actually 18 months old and has a plate. just sayin'


Thursday, March 31, 2011

Recovered Chair

My mother-in-law was so sweet to pass down this chair full of potential. It doesn't show the comfortability that I know so well but it's there! I'm thrilled to have it and it's definitely a family momento...it's been passed around several of us. The fun part is how to make it even more wonderful! So, here we go! I got some "hot" fabric at our local Hancock's and LOVE IT!

I took some basic measurement and charted it out on a sheet of paper. I think the hardest part of turning measurements into patterns is how to buy the yardage. I struggle with this and often have to ask those information gurus at the fabric store what to do. They are so helpful and make me feel good about what I'm buying. So, laying out the pattern pieces (in my head) we came up with what I needed. I really just followed what was on the original cushion with a small adaptation on the zipper.


Buy good fabric!!! You WILL need to wash it! No matter how careful you are, no one else will be as careful as you! (Case in point?....daughter with dirty feet)

Here's how the back turned out.


The front shot...

It's too cold right now, but picture this on the porch, you reclined effortlessly, with a wonderfully chilled drink on a hot summer afternoon, and sunglasses on so you can take in all the brightness around you!!! It will be here soon.


And, here's the little pillow in case sleepiness happens to follow!

Tuesday, May 11, 2010

Antique Porch Glider - Part II

Recap from Part I ....the zipper getting pinned to the gusset.


I know this looks like a repair job with the tape on my sewing machine but I actually put the tape down so my daughter could use it as a guide for her quilt. There are measurements on the machine right by the presser foot but I was trying to teach her how to line up the fabric at the very front of the machine and guide the fabric all the way through. It's an easy technique if you're not sure about your placement.

This is an encounter that happens when you don't have a pattern and think you can just "wing it." I was a little short on the length of this piece so I added about and 1 1/2 to the end....which you can clearly see because it's a striped pattern. Oh well, we'll put that in the back!


Now, on to the pillows.
I wanted to recycle some old pillows because I liked the firmness (and I found them in the closet). So I measured each piece and laid them on the fabric as if I was going to wrap it like a present. I also wanted to be sure I had enough fabric and best placement for 3 pillows.


These strips are for the trim on one pillow. I'm going to make them all coordinate but want them to be just a little different.


I'm pinning the strips to one piece and then I'll put the other on top
to sandwich the strip inside with rights sides facing each other (the bright, pretty side). Don't forget to leave an opening so you can turn the pillow to the pretty side out.


And here we go! Turn the pretty side out and push the corners to that crisp, sharp corner with a dull pencil. Insert your pillow form or stuff to desired firmness.


And the final product................. TAAAADAAAAA!


Monday, May 10, 2010

Antique Porch Glider - Part I

Gliders are actually a thing of the past and have come back around in recent years. The family bought this antique glider for mom (a couple of years ago) and it's gotten a lot of attention. From picking it up, sand blasting, storing, painting, picking out fabric, making cushions and pillows, and finally pictures! Word of the day? DEADLINE...Mother's Day!


Wow....here's the visual story of the cushions...


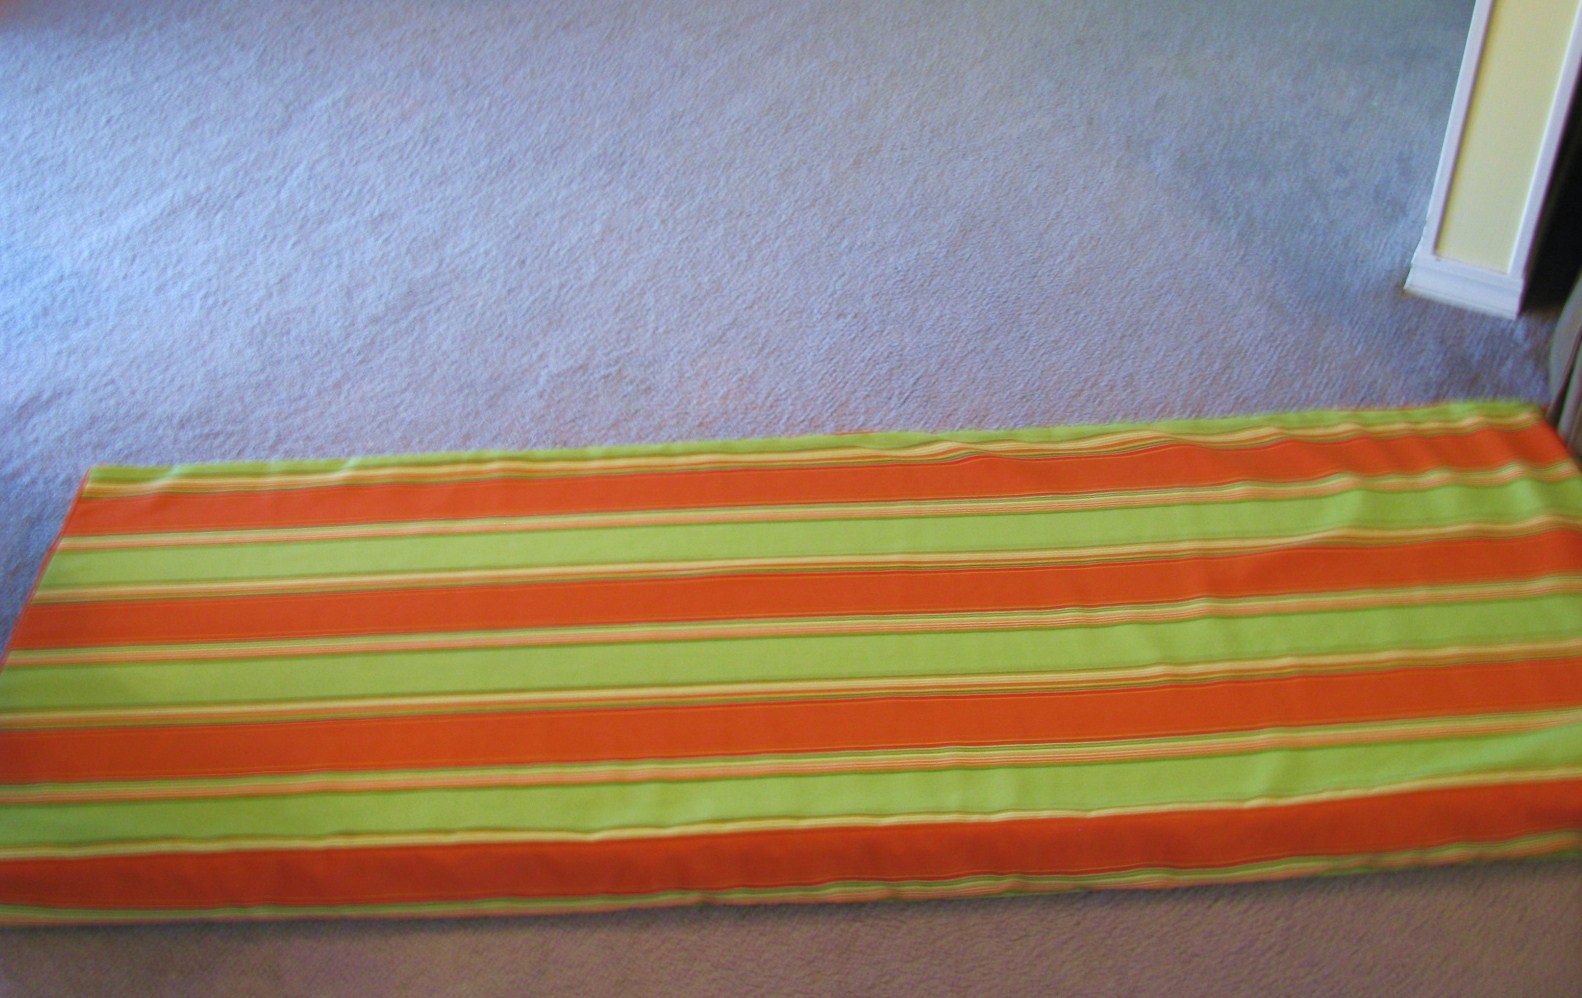
Here's the layout on the floor. I know it's not very glamorous, but when there's big cushions, this is the only space I have.


Measure, measure, measure. I layout the pieces to be sure the stripes go in the right direction.


After I cut out the pieces, I cut the last piece so I could insert a zipper. Who knows when this might get washed and I need to leave the option open. Zippers are wonderful things and are nothing to be afraid of. I treated it like one more strip of fabric and put a gusset on each side so I could sew the whole line up the entire length of the cushion. What is a gusset? It's a strip I sewed on each end of the zipper, exactly the same width as the zipper.


Then I stuffed the huge cushion inside the tiny 22 inch hole while my husband watched me from a distance wrestling the fabric.

And whaaalaaaa. Stuffed and zipped!

Wednesday, April 14, 2010

The Antique Couch

I bought this couch a while back and decided that it had great bones but needed to be recovered. LOTS of work but well worth it. I took off the fabric and pulled out all the staples. Then sanded down the wood and painted. I wanted to use milk paint and I did a layer of black under a layer of green.

I'm letting my secret out by saying that I wanted to recover it with a quilt. I got this quilt on an excellent sale from Pottery Barn. I bought the King Size so I would have ample fabric to work with. I actually wound up getting a lot of yardage for the price! I used the old pieces as my pattern for the new pieces, cut them out, and started stapling.

I made sure the lines were straight as I pulled the fabric (mostly because it was so hard to get those staples out and I didn't want to do that again).

I put the braiding all the way around to give it that finished look. I love the way it turned out and I really love the variations in patterns!


I have the matching duvet of the butterfly/oriental piece that I'm going to make curtains out of for the remodeled house...can't wait to see that!